Are you tired of dealing with a malfunctioning brake light on your Subaru Outback? Don’t worry, we’ve got you covered! In this article, we will guide you through the process of replacing your Subaru Outback’s brake light. It’s a simple task that you can easily accomplish on your own with just a few basic tools.
First things first, let’s gather the necessary equipment. You’ll need a replacement bulb that is compatible with your Subaru Outback’s brake light assembly. Make sure to check your vehicle’s manual or consult with an expert to ensure you get the right bulb for your specific model.
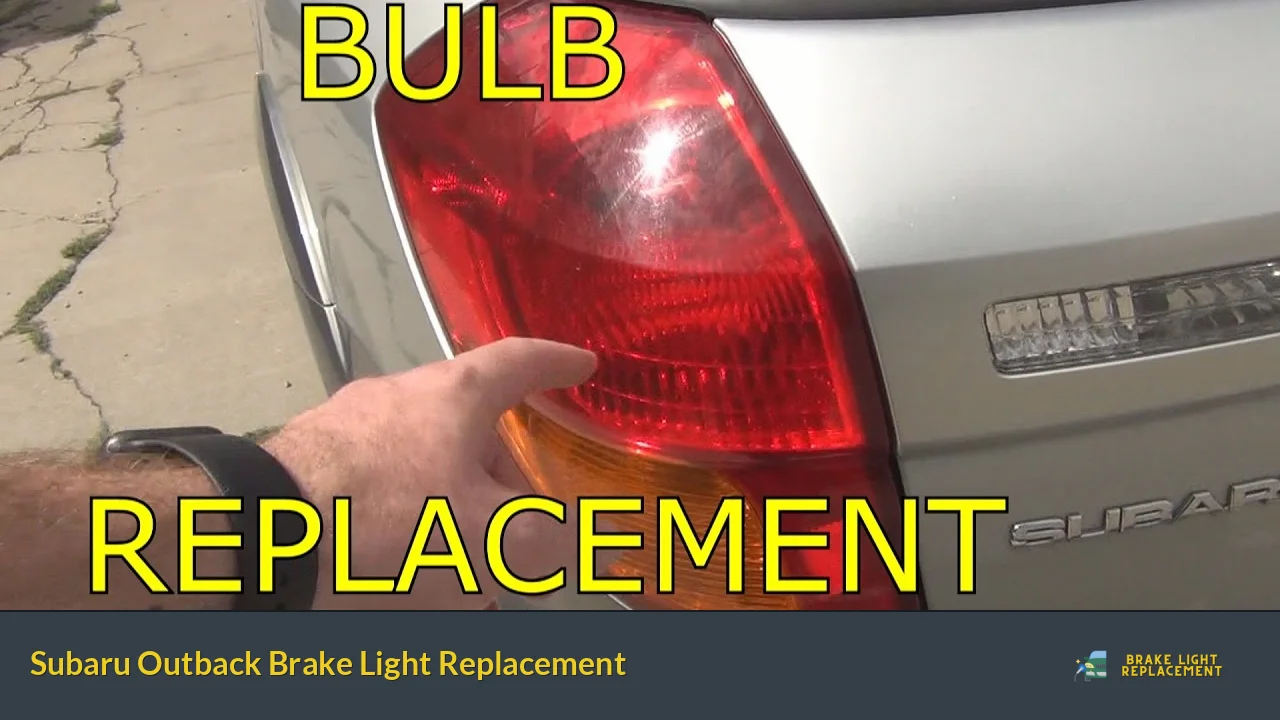
Once you have the replacement bulb, it’s time to get down to business. Start by locating the brake light assembly on the rear of your Outback. Depending on the year and model of your vehicle, the assembly may be located either on the trunk lid or on the rear bumper.
Next, remove the screws or fasteners securing the brake light assembly in place. Carefully detach the assembly from the vehicle, being mindful not to damage any wiring connected to it. Some assemblies may have a plastic cover that needs to be removed before accessing the bulb.
Now, locate the faulty bulb within the assembly. Gently twist and remove the bulb socket counterclockwise to release it. Take out the old bulb and replace it with the new one. Remember to handle the new bulb with gloves or a clean cloth to avoid getting oils from your fingers on it, as this can cause premature failure.
With the new bulb securely in place, reinsert the bulb socket into the assembly by twisting it clockwise. If you had to remove a plastic cover earlier, make sure to put it back on before reattaching the assembly to your Outback.
Lastly, carefully reattach the brake light assembly to your vehicle and secure it with the screws or fasteners you removed earlier. Give it a gentle tug to ensure it is securely in place.
And there you have it! You’ve successfully replaced the brake light on your Subaru Outback. Now you can drive with confidence, knowing that your brake lights are functioning properly and keeping you safe on the road.
Replacing a brake light on your Subaru Outback is a straightforward task that you can easily accomplish yourself. By following these simple steps, you’ll save time and money by avoiding a trip to the mechanic. So why wait? Get those brake lights shining bright again and hit the road with peace of mind!
Revving Up Safety: Subaru Outback Brake Light Replacement Made Easy

Are you a proud owner of a Subaru Outback? If so, you already know that safety is paramount when it comes to your vehicle. One crucial aspect of ensuring your safety on the road is maintaining proper brake light functionality. The brake lights play a vital role in communicating your intentions to other drivers, alerting them when you’re about to slow down or stop. As with any vehicle, the brake lights on your Subaru Outback may require replacement from time to time. But fear not! Subaru Outback brake light replacement can be a breeze.
So, how can you go about replacing your Subaru Outback’s brake lights without breaking a sweat? Well, let’s dive into the details. Firstly, locate the brake light housing at the rear of your Outback. It’s usually positioned inside the trunk or on the back panel, depending on the model year. Once you’ve found it, give yourself a pat on the back – you’re one step closer to completing this task!
Next up, remove any screws or fasteners holding the brake light housing in place. You may need a screwdriver or a socket wrench for this step. Gently take out the housing and set it aside. Now, carefully disconnect the wiring harness connected to the brake light bulb. Some models may have a plastic cover or clip that you’ll need to release before disconnecting the harness.
With the old bulb out of the way, it’s time to install the new one. Make sure you have the correct bulb type for your Subaru Outback model. Align the new bulb with the socket and push it in firmly until it’s securely seated. Reconnect the wiring harness, ensuring a snug fit. Take a moment to test the brake lights before proceeding.
Once you’ve confirmed that the brake lights are functioning properly, it’s time to reassemble everything. Slide the brake light housing back into place and secure it with the screws or fasteners you removed earlier. Give each one a final tightening to ensure a snug fit. And voila! You’ve successfully replaced your Subaru Outback’s brake lights.
Remember, maintaining proper brake light functionality is essential for your safety on the road. By following these simple steps, you can rev up your vehicle’s safety without hassle. So, don’t put off replacing those brake lights any longer. Ensure your peace of mind and hit the road with confidence in your Subaru Outback!
Brighten Your Drive: How to Replace Brake Lights on the Subaru Outback
Are you tired of driving around with dim or non-functional brake lights on your Subaru Outback? Don’t worry, because brightening your drive is easier than you think! In this article, we will guide you through the simple steps to replace the brake lights on your beloved Subaru Outback.
First things first, let’s gather the necessary tools. You’ll need a new set of compatible brake light bulbs, a screwdriver, and possibly a pair of gloves to protect your hands from any sharp edges. Once you have everything ready, it’s time to get started!

Begin by locating the rear brake light housing on your Subaru Outback. It is typically located at the rear of the vehicle, either on the tailgate or the rear bumper, depending on the model year. Once you’ve found it, you’ll notice a couple of screws holding the housing in place. Use your screwdriver to carefully remove these screws and set them aside.
With the screws removed, gently pull the brake light housing away from the vehicle. Be cautious not to apply too much force, as you don’t want to damage the housing or the surrounding bodywork. Once the housing is loose, you should be able to access the brake light bulb socket.
Now, it’s time to replace the old brake light bulb with a new one. Carefully twist the socket counterclockwise to remove it from the housing. Take out the old bulb and replace it with the new one, ensuring that it is securely seated in the socket. Once you’ve done that, twist the socket back into place, securing the new bulb within the housing.
With the new bulb in position, it’s time to reattach the brake light housing to your Subaru Outback. Align the housing with the appropriate slots or holes, and gently push it back into place. Once it’s properly aligned, use your screwdriver to tighten the screws and secure the housing firmly.
And voila! You have successfully replaced the brake lights on your Subaru Outback. Now, it’s time to test them out. Have someone assist you by pressing the brake pedal while you observe the lights from the rear. If they illuminate brightly and consistently, congratulations! You’ve brightened your drive and ensured safer journeys ahead.
Remember, regular maintenance of your vehicle’s brake lights is essential for both your safety and the safety of others on the road. By following these simple steps, you can easily replace the brake lights on your Subaru Outback, keeping your drive bright and worry-free.
Shedding Light on Road Safety: A Step-by-Step Guide to Subaru Outback Brake Light Replacement
Are you a proud owner of a Subaru Outback? Ensuring the safety of yourself and others on the road is of utmost importance, and one crucial aspect is maintaining properly functioning brake lights. In this step-by-step guide, we will illuminate the process of replacing the brake lights in your Subaru Outback, ensuring your vehicle remains visible to other drivers on the road.
Step 1: Gather the necessary tools
Before diving into the brake light replacement, make sure you have the following tools handy: a screwdriver (Phillips or flathead, depending on your Outback’s model), replacement bulbs (compatible with your Subaru Outback), and a clean cloth for handling the new bulbs.
Step 2: Access the brake light assembly
To access the brake light assembly, open the trunk or rear hatch of your Subaru Outback. Locate the plastic panel covering the backside of the taillight assembly. You may need to remove a few screws or clips using the appropriate screwdriver, carefully prying them off to reveal the assembly.
Step 3: Remove the burnt-out bulb
Identify the specific brake light bulb that needs replacement. Gently twist the bulb socket counterclockwise to detach it from the assembly. Then, pull out the old bulb from the socket, ensuring not to touch the glass portion as it can lead to premature failure.
Step 4: Install the new bulb
Take the new brake light bulb and insert it into the empty socket, making sure it fits snugly. Avoid touching the glass part of the bulb and use a clean cloth if necessary. Once inserted, twist the socket clockwise to secure it back into the assembly.
Step 5: Test the brake lights
Before putting everything back together, it’s crucial to test your newly installed brake light. Activate your Subaru Outback’s brakes and check if the new bulb illuminates properly. If it does, you’re good to go!
Step 6: Reassemble and repeat if necessary
If the brake light replacement was successful, carefully reattach the plastic panel, securing it with screws or clips. If you need to replace multiple bulbs, repeat the above steps for the remaining brake lights.
By following this simple step-by-step guide, you can ensure optimal road safety by keeping your Subaru Outback equipped with fully functional brake lights. Remember, regular maintenance and timely replacements are essential for a safe and pleasant driving experience. Stay visible and drive with confidence on the roads!
DIY Car Maintenance: Mastering Subaru Outback Brake Light Replacement
Are you tired of spending a fortune on car maintenance? Well, here’s some good news for all the Subaru Outback owners out there. In this article, we’ll guide you through the process of mastering brake light replacement for your beloved ride. Say goodbye to those hefty repair bills and embrace the world of DIY car maintenance.
Brake lights are an essential safety feature in any vehicle, and the Subaru Outback is no exception. These lights alert drivers behind you when you’re slowing down or coming to a stop, reducing the risk of accidents. So, it’s crucial to ensure they’re in proper working condition at all times.
First, let’s gather the necessary tools for the task at hand. You’ll need a screwdriver (usually Phillips head), a new brake light bulb (make sure it’s compatible with your Subaru Outback model), and a clean cloth to handle the bulb. Once you have everything ready, it’s time to get started.

Locate the brake light housing on the rear of your Outback. Typically, there’s a small panel inside the trunk that allows access to the bulb sockets. Remove this panel using the screwdriver, being careful not to damage it.
Now, take a moment to inspect the brake light assembly. Identify the faulty bulb that needs replacement. Gently twist the socket counterclockwise to remove it from the housing. Carefully pull out the old bulb and replace it with the new one. Remember to avoid touching the glass part of the bulb; use the clean cloth if needed.
Once the new bulb is securely in place, reinsert the socket into the housing and give it a clockwise twist to lock it. Now, it’s time to test your handiwork. Ask someone to step on the brake pedal while you observe the newly replaced brake light. If it illuminates properly, congratulations! You’ve successfully mastered Subaru Outback brake light replacement.
By learning simple maintenance tasks like this, you can save both time and money. Remember, practice makes perfect, so don’t be discouraged if it takes a few attempts to get it right. Soon enough, you’ll be confidently tackling other DIY car maintenance tasks for your Subaru Outback. Stay tuned for more tips and tricks to keep your vehicle in top shape without breaking the bank.