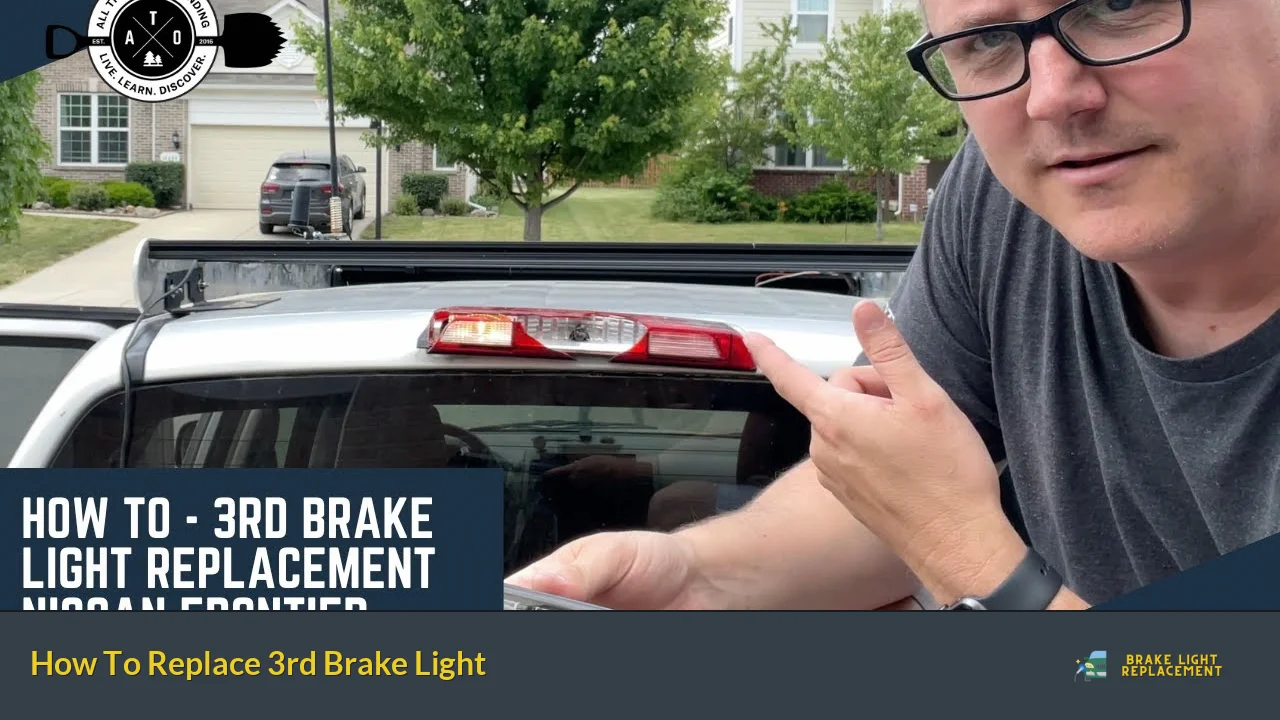
Replacing a third brake light is an essential maintenance task that ensures your vehicle remains safe and compliant with traffic regulations. The third brake light, often mounted higher than the standard brake lights, enhances visibility for drivers behind you, significantly reducing the risk of rear-end collisions. This guide provides a comprehensive overview of how to replace a third brake light, covering various vehicle types and the tools required for the job.
The process can vary depending on the make and model of your vehicle. However, the fundamental steps remain similar across different vehicles. You will typically need basic tools such as screwdrivers and possibly a socket set. This guide will walk you through the necessary steps to replace your third brake light efficiently.
| Step | Description |
|---|---|
| 1 | Gather tools and materials. |
| 2 | Access the third brake light assembly. |
| 3 | Remove the old bulb or assembly. |
| 4 | Install the new bulb or assembly. |
| 5 | Test the new installation. |
Tools and Materials Needed
Before starting the replacement process, ensure you have all necessary tools and materials at hand. Having everything ready will streamline your work and prevent unnecessary interruptions.
- Screwdrivers: A flathead and Phillips screwdriver are usually required.
- Socket Set: Depending on your vehicle, you may need a socket wrench to remove bolts.
- Replacement Bulb: Check your vehicle’s manual for the correct bulb type (e.g., LED or incandescent).
- Gloves: To avoid touching the new bulb with bare hands, which can cause it to burn out prematurely.
- Cleaning Supplies: A cloth or paper towel to clean any dirt from the assembly area.
Gathering these items beforehand will help ensure a smooth replacement process.
Accessing the Third Brake Light
The next step is to access the third brake light assembly. This usually involves opening the trunk or hatchback of your vehicle.
1. Open Trunk/Hatch: Begin by opening your trunk or rear hatch to access the brake light assembly.
2. Locate Access Panel: In many vehicles, there is an access panel located just below or around the third brake light. This panel may be secured with screws or clips.
3. Remove Access Panel: Use a screwdriver to carefully remove any screws holding the access panel in place. If there are clips, gently pry them out without damaging them.
4. Disconnect Wiring Harness: Once you have access to the assembly, locate the wiring harness connected to the third brake light. Disconnect it by pressing down on any tabs and pulling it out gently.
This step is crucial as it allows you to reach the bulb or entire assembly for replacement.
Removing and Replacing the Bulb
Once you have accessed the assembly, you can proceed to remove and replace the old bulb.
1. Remove Old Bulb: Depending on your vehicle, you might need to twist or pull out the old bulb from its socket. For twist-type bulbs, turn them counterclockwise until they release from their holder.
2. Inspect Socket for Damage: Before installing a new bulb, inspect the socket for any signs of damage or corrosion. Clean it if necessary to ensure a good connection.
3. Install New Bulb: Take your new bulb (ensure it matches specifications) and insert it into the socket. For twist-type bulbs, align it properly and turn it clockwise until it locks in place.
4. Reattach Wiring Harness: After replacing the bulb, reconnect the wiring harness by pushing it back into place until you hear a click indicating it’s secure.
This step is vital as improper installation can lead to malfunctioning lights.
Testing Your New Installation
After replacing your third brake light, it’s essential to test whether it functions correctly before reassembling everything.
1. Turn on Ignition: Start your vehicle or turn on your ignition without starting the engine.
2. Press Brake Pedal: Have someone press down on your brake pedal while you observe if the new third brake light illuminates.
3. Check Functionality: If it lights up correctly, proceed; if not, double-check all connections and ensure that you’ve installed everything properly.
Testing ensures that you have successfully replaced the light and that it operates as intended.
Reassembling Everything
Once you’ve confirmed that your new third brake light works correctly, it’s time to reassemble any components you removed during installation.
1. Replace Access Panel: Securely reattach any access panels using screws or clips that were removed earlier.
2. Close Trunk/Hatch: Ensure everything is properly closed and secured before driving away.
3. Dispose of Old Bulb Properly: Dispose of any old bulbs according to local regulations as they may contain hazardous materials.
Following these steps will ensure a successful replacement of your third brake light without complications.
FAQs About How To Replace 3rd Brake Light
- How often should I replace my third brake light?
You should replace your third brake light whenever it burns out or shows signs of malfunction. - Can I replace an LED third brake light with a regular bulb?
No, LED lights require specific fixtures; always use compatible replacements. - What if my new third brake light doesn’t work?
Check all connections and ensure that no fuses are blown; consult a professional if issues persist. - Is replacing a third brake light difficult?
No, it’s generally straightforward and can be done with basic tools in under an hour. - Do I need special tools for this replacement?
No special tools are usually required; basic screwdrivers and possibly a socket set will suffice.
Replacing a third brake light is an essential task that contributes significantly to road safety. By following these detailed steps, you can ensure that this critical component of your vehicle remains functional, helping prevent accidents caused by poor visibility when braking. Always remember to check compatibility when purchasing replacement bulbs or assemblies for optimal performance and safety on the road.
