The brake light relay is a crucial component in your vehicle’s electrical system, responsible for activating the brake lights when you press the brake pedal. Locating this relay can be challenging, as its position varies depending on the make and model of your vehicle. Generally, the brake light relay is found in one of several common locations within your car.
For most vehicles, the brake light relay is typically situated in the fuse box, which can be located under the dashboard, in the engine compartment, or in some cases, in both areas. Some manufacturers place the relay behind the brake pedal assembly or near the steering column. Understanding the general location of this relay is essential for troubleshooting brake light issues and performing maintenance tasks.
| Common Locations | Typical Vehicle Types |
|---|---|
| Under-dash fuse box | Sedans, hatchbacks |
| Engine compartment fuse box | SUVs, trucks |
| Near brake pedal assembly | Some European models |
| Behind battery | Certain motorcycle models |
Locating the Brake Light Relay in Different Vehicle Types
The location of the brake light relay can vary significantly between different vehicle manufacturers and models. Understanding these variations can save you time and frustration when attempting to locate the relay in your specific vehicle.
Sedans and Compact Cars
In most sedans and compact cars, the brake light relay is typically found in the fuse box located under the dashboard on the driver’s side. To access it:
- Look for a panel or cover beneath the steering wheel
- Remove the panel, which may require unscrewing or unclipping
- Consult your vehicle’s manual to identify the correct relay
- The brake light relay is often labeled as “STOP” or “BRK LT”
Some sedan models, particularly those from European manufacturers, may have the relay positioned near the brake pedal assembly. In this case, you might need to remove a panel near the pedal to access the relay.
SUVs and Trucks
For larger vehicles like SUVs and trucks, the brake light relay is frequently located in the engine compartment fuse box. To find it:
- Open the hood and locate the fuse box, usually near the battery
- Remove the fuse box cover, which typically has a diagram of fuse and relay locations
- Look for a relay labeled “STOP,” “BRAKE,” or “BRK LT”
- In some cases, you may need to remove a plastic cover or tray to access the relays
It’s important to note that some SUVs and trucks may have multiple fuse boxes, with one under the dashboard and another in the engine compartment. Always check both locations if you’re having trouble finding the brake light relay.
Motorcycles
On motorcycles, the brake light relay location can be more challenging to pinpoint due to the compact nature of the vehicle. Common locations include:
- Behind the headlight assembly
- Under the seat
- Near the battery compartment
For many motorcycle models, especially those from Harley-Davidson, the brake light relay is often found directly behind the battery on the left side. Always consult your motorcycle’s manual for the exact location, as it can vary significantly between different makes and models.
Identifying the Brake Light Relay
Once you’ve located the general area where the brake light relay should be, the next step is to identify the correct relay. Here are some tips to help you pinpoint the exact relay:
- Check the relay diagram: Most fuse boxes have a diagram on the cover or inside the lid that shows the location and function of each relay.
- Look for labels: The brake light relay may be labeled as “STOP,” “BRAKE,” or “BRK LT” on the relay itself or on the fuse box.
- Consult the manual: Your vehicle’s owner’s manual or service manual should provide specific information on the location and appearance of the brake light relay.
- Use the process of elimination: If you can’t find a clear label, identify the function of other relays to narrow down which one controls the brake lights.
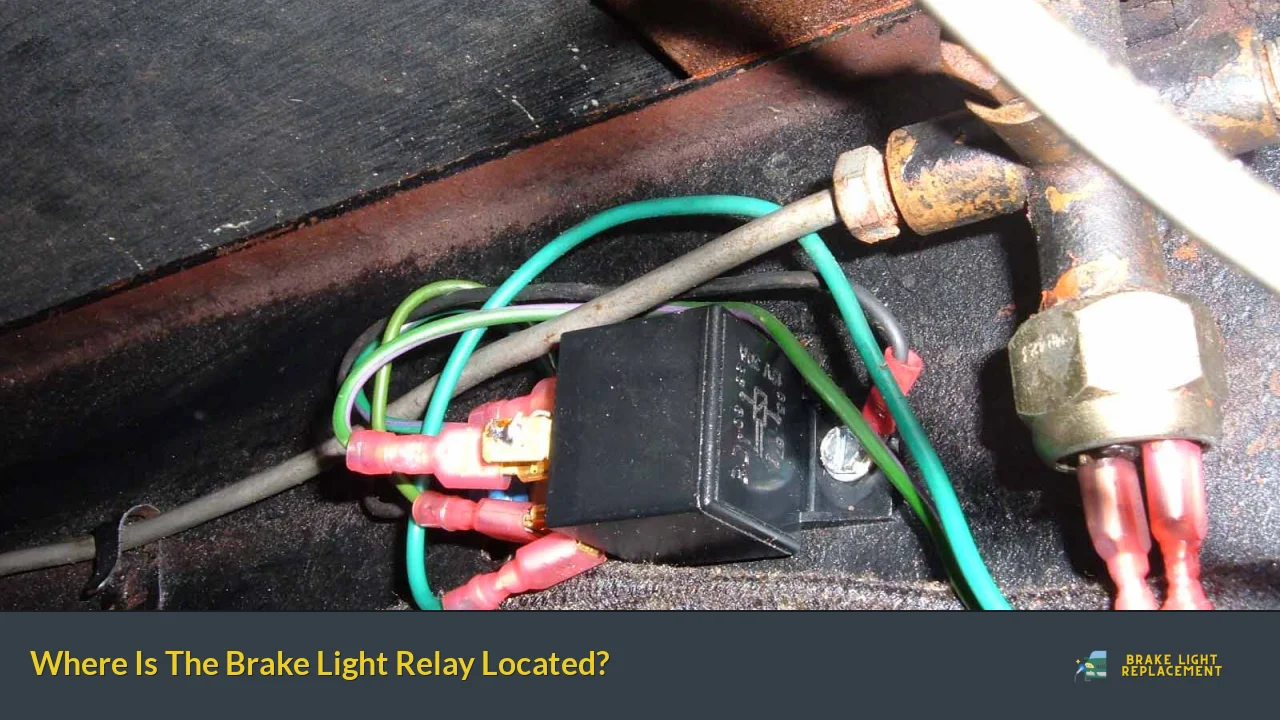
Common Relay Appearances
Brake light relays typically come in two main forms:
- Cube-shaped relays: These are the most common type, usually measuring about 1 inch on each side.
- Cylindrical relays: Less common but found in some older vehicles or specific models.
Both types of relays are usually black or dark gray in color and have 4 or 5 pins on the bottom for connection to the vehicle’s electrical system.
Accessing the Brake Light Relay
Accessing the brake light relay can sometimes be challenging, depending on its location in your vehicle. Here are some general steps to follow:
1. Ensure safety: Always disconnect the battery before working on electrical components to prevent short circuits or electrical shocks.
2. Remove necessary panels: Depending on the relay’s location, you may need to remove interior panels or engine compartment covers.
3. Identify the correct relay: Use the methods mentioned earlier to ensure you’re working with the right component.
4. Carefully remove the relay: Most relays can be pulled straight out of their socket. Some may have a locking mechanism that needs to be released first.
5. Inspect the relay: Look for signs of damage, such as melted plastic or corrosion on the pins.
Troubleshooting Brake Light Issues
If you’re experiencing problems with your brake lights, the relay is often a good place to start your troubleshooting process. Here are some common issues and their potential solutions:
- Brake lights not working: This could be due to a faulty relay, blown fuse, or bad bulbs. Check the fuse first, then test the relay.
- Brake lights stay on: This might indicate a stuck relay or a problem with the brake light switch. Try replacing the relay to see if it resolves the issue.
- Intermittent brake light function: This could be caused by a loose connection or a relay that’s beginning to fail. Inspect the wiring and consider replacing the relay.
Testing the Brake Light Relay
To test if the brake light relay is functioning correctly:
1. Remove the relay from its socket
2. Use a multimeter set to continuity mode
3. Test the continuity between the appropriate pins (consult your vehicle’s manual for the correct pin configuration)
4. If there’s no continuity when there should be, the relay may be faulty and need replacement
Replacing the Brake Light Relay
If you’ve determined that the brake light relay needs to be replaced, follow these general steps:
1. Purchase a new relay that matches the specifications of your original relay
2. Ensure the vehicle’s battery is disconnected
3. Remove the old relay by pulling it straight out of its socket
4. Insert the new relay, making sure it’s fully seated and oriented correctly
5. Reconnect the battery and test the brake lights to ensure proper function
Remember that while replacing a relay is generally a straightforward task, if you’re unsure about any step in the process, it’s always best to consult a professional mechanic to avoid potential damage to your vehicle’s electrical system.
FAQs About Where Is The Brake Light Relay Located?
- Can I drive with a faulty brake light relay?
It’s not recommended as it compromises your vehicle’s safety and may be illegal in many jurisdictions. - How often should I replace my brake light relay?
There’s no set interval; replace it when it fails or if you experience persistent brake light issues. - Will a bad brake light relay trigger a warning light?
It may not directly trigger a warning light, but it could cause your brake lights to malfunction. - Can weather conditions affect the brake light relay?
Extreme temperatures and moisture can potentially damage the relay over time, especially if it’s located in the engine compartment. - Is replacing a brake light relay a DIY job?
For most vehicles, yes. It’s typically a simple plug-and-play component that doesn’t require special tools or expertise.