Brake pads are a critical component of your vehicle’s braking system, responsible for creating the friction needed to slow down and stop your car. Knowing when to replace your brake pads is essential for maintaining your vehicle’s safety and performance. Typically, brake pads need to be replaced every 25,000 to 65,000 miles, but this can vary depending on driving habits, vehicle type, and brake pad quality.
Recognizing the signs of worn brake pads is crucial for timely replacement. These signs include squealing or grinding noises when braking, reduced braking performance, and vibrations in the brake pedal. Regular inspections and being attentive to your vehicle’s behavior can help you determine when it’s time for a brake pad replacement.
| Brake Pad Type | Average Lifespan (miles) |
|---|---|
| Organic | 30,000 – 40,000 |
| Ceramic | 50,000 – 70,000 |
| Semi-Metallic | 40,000 – 60,000 |
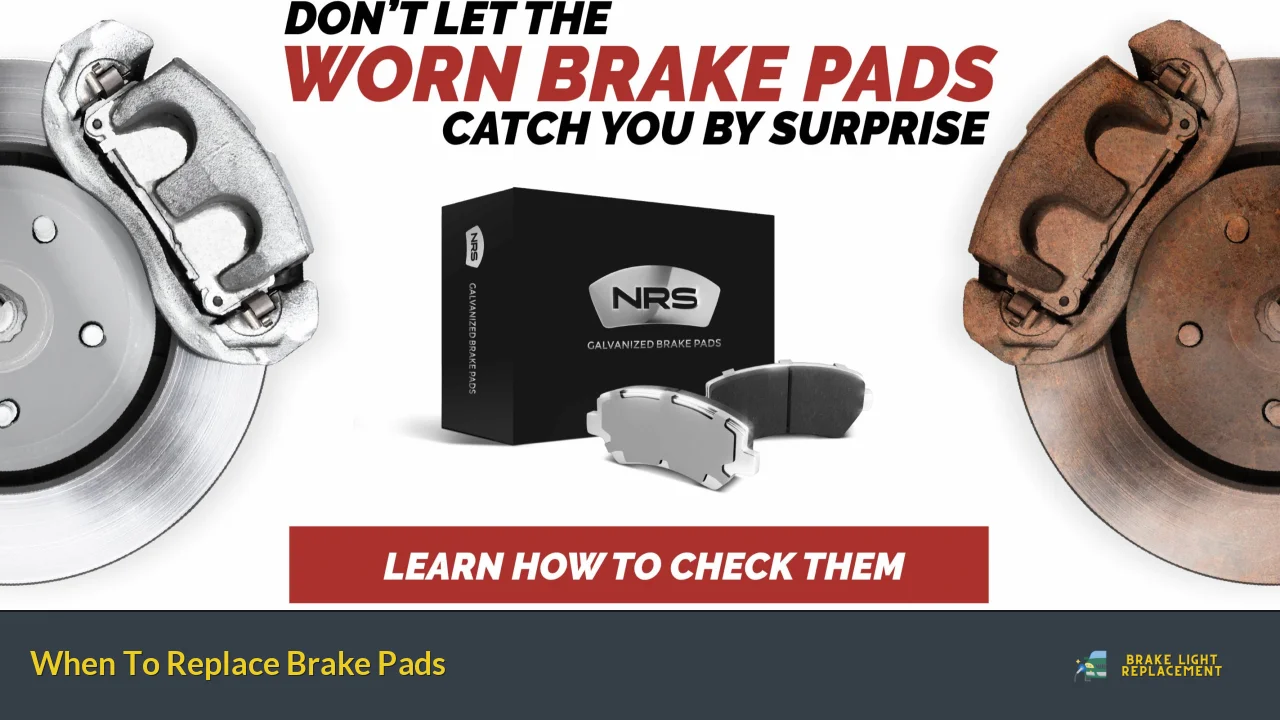
Signs It’s Time to Replace Your Brake Pads
Recognizing the indicators that your brake pads need replacement is crucial for maintaining your vehicle’s safety and performance. Here are some key signs to watch out for:
1. Squealing or Squeaking Noises: One of the most common and noticeable signs of worn brake pads is a high-pitched squealing or squeaking noise when you apply the brakes. This sound is often caused by a small metal shim, called an indicator, which is designed to create noise when the brake pad material has worn down significantly. If you hear this sound consistently, it’s time to have your brakes inspected.
2. Grinding Sound: If you hear a grinding or growling noise when braking, this is a serious indication that your brake pads have worn down completely. The sound you’re hearing is metal-on-metal contact between the brake disc and the caliper. This can cause significant damage to your brake rotors and should be addressed immediately.
3. Reduced Braking Performance: If you notice that your car takes longer to stop than usual or that you need to apply more pressure to the brake pedal to slow down, this could indicate worn brake pads. As the pad material wears thin, it becomes less effective at creating the friction needed to stop your vehicle quickly.
4. Vibration in the Brake Pedal: If you feel a vibration or pulsating sensation in the brake pedal when you apply pressure, this could be a sign of warped rotors. While this isn’t directly related to brake pad wear, it often occurs when brake pads are severely worn, allowing excess heat to build up and warp the rotors.
5. Visible Wear: In some vehicles, you can visually inspect your brake pads without removing the wheels. Look through the spokes of your wheel, and you should see the brake pad compressed against the rotor. If the pad appears to be less than 1/4 inch thick, it’s time to replace them.
6. Dashboard Warning Light: Many modern vehicles are equipped with a brake pad wear sensor that will trigger a dashboard warning light when the pads have worn to a certain thickness. If you see this light, it’s crucial to have your brakes inspected as soon as possible.
Remember, these signs can vary depending on the make and model of your vehicle, as well as the type of brake pads installed. It’s always best to consult your vehicle’s manual for specific guidance on brake maintenance and to have regular brake inspections performed by a qualified mechanic.
Factors Affecting Brake Pad Lifespan
The lifespan of your brake pads can vary significantly based on several factors. Understanding these can help you anticipate when you might need to replace your brake pads and potentially extend their life through proper care and driving habits.
1. Driving Habits: Your driving style has a significant impact on brake pad wear. Aggressive driving, frequent hard braking, and “riding” the brakes can all lead to faster wear. City driving, with its frequent stops and starts, typically wears brake pads faster than highway driving.
2. Vehicle Weight: Heavier vehicles require more braking force to stop, which can lead to faster brake pad wear. This is why trucks and SUVs often need more frequent brake pad replacements compared to lighter passenger cars.
3. Brake Pad Quality: The type and quality of brake pads you choose can significantly affect their lifespan. High-quality brake pads may cost more upfront but often last longer and provide better performance. Ceramic brake pads, for example, tend to last longer than organic pads.
4. Environmental Conditions: Driving in hilly or mountainous areas can cause faster brake wear due to the increased use of brakes on descents. Similarly, driving in areas with a lot of stop-and-go traffic or in harsh weather conditions can accelerate brake pad wear.
5. Vehicle Type and Design: Some vehicle designs put more stress on the brakes than others. For example, front-wheel-drive vehicles typically wear out their front brake pads faster than the rear ones because the front brakes do most of the work.
6. Rotor Condition: The condition of your brake rotors can affect pad wear. Warped or unevenly worn rotors can cause uneven wear on your brake pads, potentially shortening their lifespan.
7. Towing and Hauling: If you frequently use your vehicle for towing or hauling heavy loads, this puts extra stress on your brakes and can lead to faster pad wear.
8. Brake System Maintenance: Regular maintenance of your entire brake system, including proper lubrication of caliper slides and regular brake fluid changes, can help extend the life of your brake pads.
9. Wheel Alignment: Improper wheel alignment can cause uneven tire wear, which in turn can lead to uneven brake pad wear. Keeping your wheels properly aligned can help extend the life of your brake pads.
10. Brake Pad Material: Different brake pad materials have different wear characteristics. Organic pads are softer and tend to wear faster but are quieter. Semi-metallic pads are more durable but can be noisier. Ceramic pads offer a good balance of durability and quiet operation but are typically more expensive.
Understanding these factors can help you make informed decisions about your driving habits, vehicle maintenance, and brake pad selection. By being mindful of these elements, you can potentially extend the life of your brake pads and ensure optimal braking performance for your vehicle.
The Brake Pad Replacement Process
Replacing brake pads is a critical maintenance task that ensures your vehicle’s braking system remains effective and safe. While many car owners opt to have this service performed by professionals, understanding the process can help you make informed decisions about your vehicle’s maintenance. Here’s an overview of the typical brake pad replacement process:
1. Vehicle Preparation: The first step involves safely lifting and securing the vehicle. This is typically done using a jack and jack stands. It’s crucial to ensure the vehicle is stable before proceeding.
2. Wheel Removal: Once the vehicle is secure, the wheels are removed to access the brake assembly. This usually requires loosening the lug nuts while the car is still on the ground, then fully removing them once the car is lifted.
3. Caliper Removal: The brake caliper is unbolted from the steering knuckle or caliper bracket. It’s important to support the caliper properly to avoid putting stress on the brake hose.
4. Old Pad Removal: With the caliper removed or loosened, the old brake pads can be taken out. This is a good time to inspect the brake rotor for any signs of wear or damage.
5. Caliper Inspection: The caliper and its components are inspected for any signs of wear or damage. This includes checking the caliper pistons, slide pins, and boots.
6. Brake Hardware Replacement: It’s often recommended to replace the brake hardware (clips, shims, etc.) when changing pads. This ensures proper pad movement and reduces noise.
7. Caliper Piston Compression: The caliper piston needs to be compressed back into its housing to make room for the new, thicker brake pads. This is typically done using a special tool.
8. New Pad Installation: The new brake pads are installed into the caliper bracket. It’s crucial to ensure they are oriented correctly and seated properly.
9. Caliper Reinstallation: The caliper is then reinstalled over the new pads and secured to the bracket or steering knuckle.
10. System Check: Before reinstalling the wheels, it’s important to check that everything is secure and properly installed.
11. Wheel Reinstallation: The wheels are put back on and the lug nuts are tightened to the manufacturer’s specified torque.
12. Brake Bedding: After installation, it’s important to “bed in” the new brake pads. This process involves a series of controlled stops to properly seat the pads against the rotors.
13. Final Inspection: A test drive is performed to ensure the brakes are functioning correctly, with no unusual noises or vibrations.
It’s important to note that while this process might seem straightforward, it requires specific tools and knowledge to perform correctly. Improper installation can lead to brake failure, which is why many vehicle owners choose to have this service performed by trained professionals. Always consult your vehicle’s manual for specific instructions and safety precautions.
FAQs About When To Replace Brake Pads
- How often should I replace my brake pads?
Typically, brake pads should be replaced every 25,000 to 65,000 miles, but this can vary based on driving habits and conditions. - Can I replace just one set of brake pads?
It’s generally recommended to replace brake pads in pairs (both front or both rear) to ensure even braking performance. - How much does it cost to replace brake pads?
The cost can range from $100 to $300 per axle, depending on the vehicle and type of brake pads used. - What happens if I don’t replace worn brake pads?
Continuing to drive with worn brake pads can lead to rotor damage, reduced braking performance, and potentially dangerous driving conditions. - Can I replace brake pads myself?
While it’s possible for DIY enthusiasts, brake pad replacement requires specific tools and knowledge. Professional installation is recommended for safety.