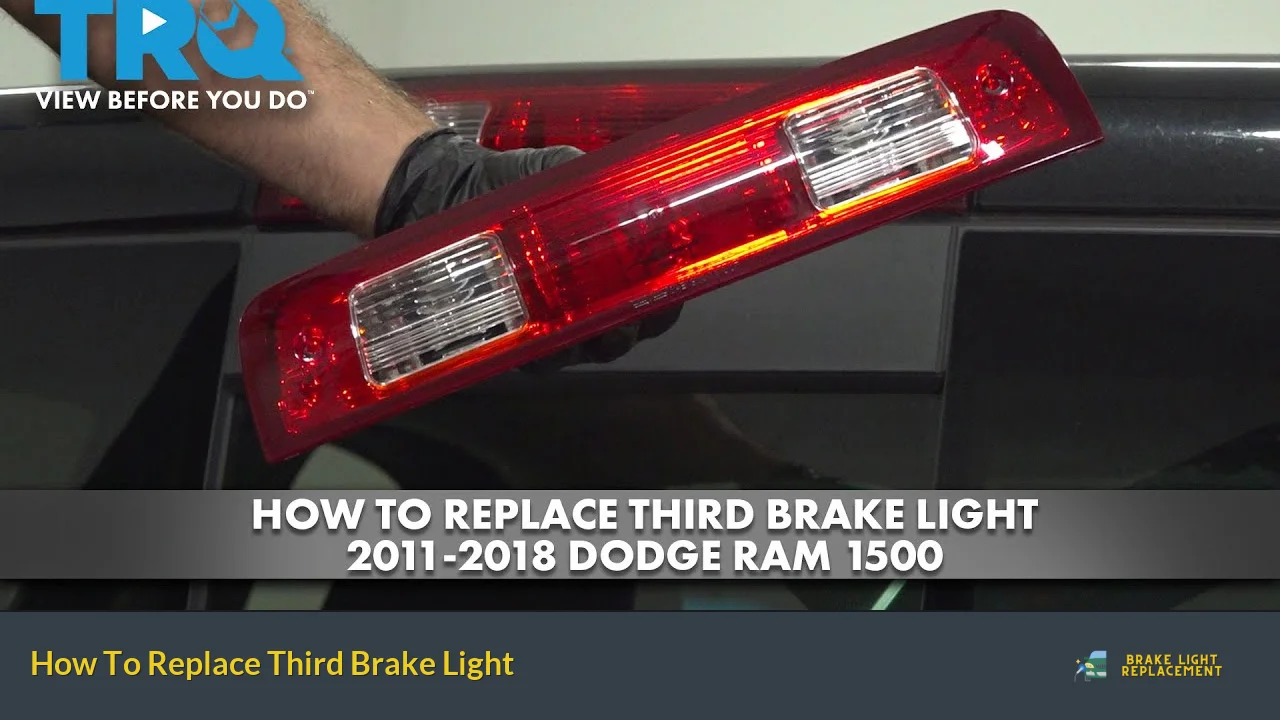
Replacing a third brake light is an essential maintenance task that ensures your vehicle remains safe and visible on the road. The third brake light, also known as the high mount stop lamp, plays a crucial role in alerting drivers behind you when you are braking. This guide will walk you through the process of replacing this light, including tools needed, step-by-step instructions, and important tips to ensure a successful replacement.
The third brake light is typically located at the rear of the vehicle, often integrated into the rear windshield or mounted high on the trunk lid. Over time, these lights can burn out or become damaged, necessitating replacement. Not only does a functioning third brake light improve safety by reducing the risk of rear-end collisions, but it also helps you avoid potential traffic violations.
Here’s a quick overview of what you need to know about third brake lights:
| Aspect | Details |
|---|---|
| Function | Alerts drivers when braking |
| Common Issues | Burnt-out bulbs, damaged housing |
| Tools Needed | Screwdrivers, replacement bulb or assembly |
Tools and Materials Needed
Before starting the replacement process, gather the necessary tools and materials. Having everything ready will make the job easier and faster.
- Flathead screwdriver: For prying off covers or trim.
- Phillips screwdriver: For removing screws.
- Replacement bulb or assembly: Ensure it is compatible with your vehicle model.
- Safety glasses: Protect your eyes during the process.
- Gloves: To keep your hands clean and to avoid damaging new bulbs.
It’s important to check your vehicle’s manual for specific instructions related to your model, as the process can vary significantly between different makes and models.
Step-by-Step Replacement Process
Step 1: Prepare Your Vehicle
Start by ensuring your vehicle is parked on a flat surface with the engine turned off. Engage the parking brake for safety. If necessary, open the trunk to access the third brake light more easily.
Step 2: Remove Any Trim or Covers
In many vehicles, you will need to remove a trim piece or cover to access the third brake light assembly. Use a flathead screwdriver to gently pry off any plastic covers. Be careful not to damage the clips or surrounding paint.
Step 3: Unscrew the Brake Light Assembly
Once you have access to the assembly, look for screws holding it in place. Use a Phillips screwdriver to remove these screws. Keep them in a safe place as you will need them for reinstallation.
Step 4: Disconnect the Wiring Harness
After removing the screws, gently pull out the brake light assembly. You will see a wiring harness connected to it. Carefully disconnect this harness by pressing on the release tab and pulling it apart.
Step 5: Replace the Bulb or Assembly
If you are only replacing a bulb, twist it counterclockwise to remove it from its socket. Insert the new bulb by aligning it properly and twisting it clockwise until secure. If replacing the entire assembly, simply take out the old one and replace it with a new one by connecting it to the wiring harness first.
Step 6: Reinstall Everything
Once you have replaced the bulb or assembly, reverse your steps:
- Reconnect any wiring harnesses.
- Secure the assembly back into place with screws.
- Replace any trim pieces or covers that were removed earlier.
Step 7: Test Your New Brake Light
Before closing everything up, turn on your vehicle and press the brake pedal to test if the new third brake light is functioning properly. This step is crucial as it ensures that everything has been installed correctly.
Step 8: Final Checks
After confirming that your new third brake light works, double-check that all screws are tightened and that any trim pieces are securely in place. Dispose of any old bulbs properly according to local regulations.
Tips for Success
- Consult Your Manual: Always refer to your vehicle’s owner manual for specific instructions related to your model.
- Be Gentle with Trim: When removing trim pieces, use gentle pressure to avoid breaking clips or damaging paint.
- Use Quality Parts: Invest in quality replacement parts to ensure longevity and performance.
- Consider LED Upgrades: If you’re replacing bulbs, consider upgrading to LED options for brighter illumination and longer lifespan.
FAQs About How To Replace Third Brake Light
- How do I know if my third brake light is burnt out?
Check if there is no illumination when pressing the brake pedal; also inspect visually for cracks. - Can I replace just the bulb instead of the entire assembly?
Yes, if only the bulb is faulty and not damaged beyond repair. - What tools do I need for this replacement?
You typically need screwdrivers and possibly gloves for safety. - How long does it take to replace a third brake light?
The process usually takes about 30 minutes if you have all tools ready. - Is it safe to drive with a broken third brake light?
No, it’s important to replace it promptly for safety reasons.
Replacing your third brake light can be an easy DIY task if approached methodically. By following these steps carefully and ensuring all components are securely fastened, you can maintain your vehicle’s safety features effectively.
