Replacing brake lines is an essential maintenance task for vehicle safety. Brake lines are responsible for transporting brake fluid from the master cylinder to the brake calipers, enabling effective braking performance. Over time, these lines can corrode or develop leaks, leading to a loss of braking power. This guide provides a comprehensive overview of how to replace brake lines, ensuring your vehicle remains safe and functional.
Step Description 1 Gather necessary tools and materials. 2 Lift the vehicle securely. 3 Remove the old brake line. 4 Prepare and install the new brake line. 5 Bleed the brake system.
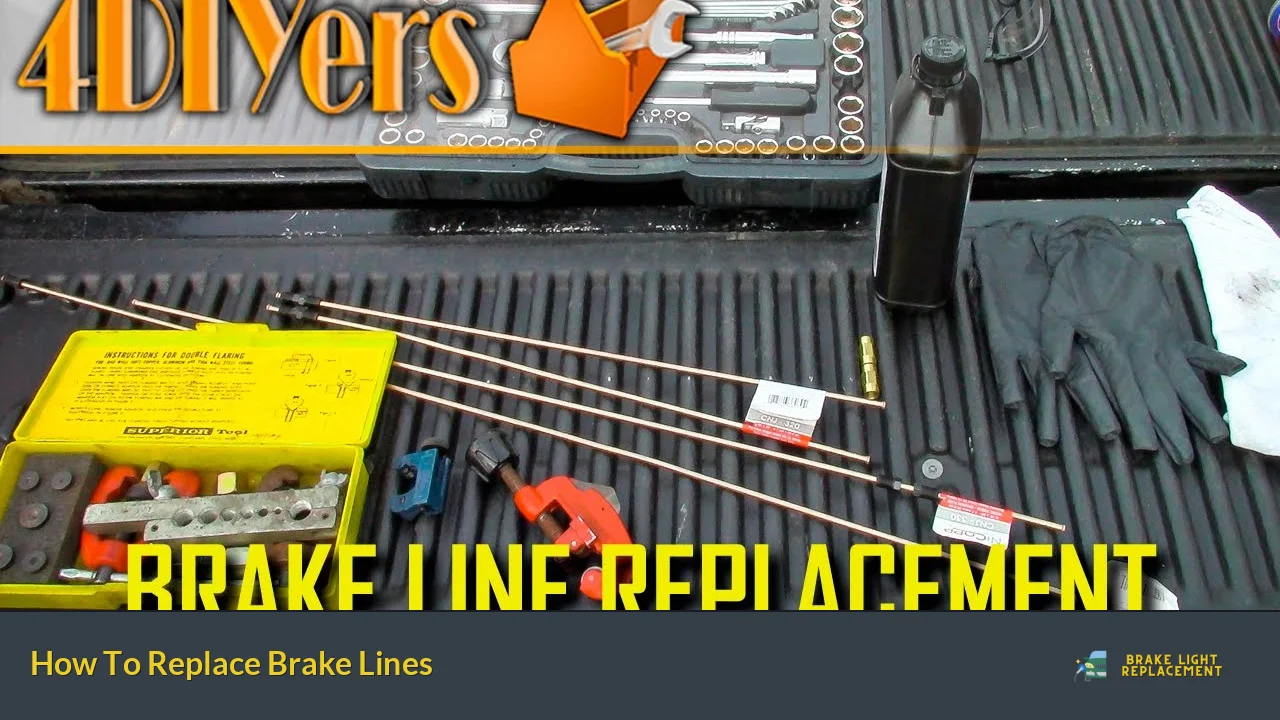
Tools and Materials Needed
Before starting the replacement process, gather all necessary tools and materials. Having everything ready will make the job easier and more efficient. You will need:
- Line wrenches (flare nut wrenches)
- Flaring kit
- New brake line
- Brake line fittings
- Line cutter
- File
- Brake fluid
- Rags
- Jack and jack stands or ramps
Ensure that you choose the right type of brake line material—options include steel, copper, or stainless steel. Each material has its pros and cons; for instance, copper is easier to work with but can fatigue over time, while stainless steel is more durable but harder to bend.
Preparing the Vehicle
Safety is paramount when performing any vehicle maintenance. Start by preparing your workspace:
- Park your vehicle on a flat surface and engage the parking brake.
- Use wheel chocks on the wheels that will remain on the ground to prevent movement.
Next, lift the vehicle:
- Use a jack to raise the vehicle.
- Secure it with jack stands to ensure stability while you work underneath.
Make sure you have ample lighting to see clearly under the vehicle.
Removing the Old Brake Line
Once your vehicle is securely lifted, you can begin removing the old brake line:
- Locate the brake line at each wheel, which connects to the brake caliper.
- Use a line wrench to loosen and remove the fittings at both ends of the old line. Be prepared for some brake fluid to leak out during this process; use rags to catch any spills.
- Remove any retaining clips or brackets that hold the line in place.
- Carefully detach the old line from its mounting points while ensuring not to damage surrounding components.
Installing the New Brake Line
With the old line removed, it’s time to install the new one:
- Measure and cut the new brake line to match the length of the old one. Leave some extra length for flaring.
- Use a file to smooth any rough edges on both ends of the new line.
- Using a flaring kit, create flares on both ends of the new line. Ensure you follow proper flaring techniques for a secure fit.
- Install any necessary fittings onto each end of the new line before attaching it.
- Route the new brake line through its mounting points, ensuring it does not rub against any moving parts or hot surfaces.
- Securely attach one end of the new line to the brake caliper first, followed by securing it at its other connection point.
Bleeding the Brake System
After installing the new brake line, it’s crucial to bleed the brake system to remove any air trapped in the lines:
- Begin by filling the master cylinder reservoir with fresh brake fluid.
- Start bleeding from the wheel farthest from the master cylinder (usually passenger rear) and work your way towards the closest (driver front).
- Have an assistant pump the brake pedal several times and hold it down while you open each bleeder valve slightly. Close it before they release their foot off the pedal.
- Repeat this process until no air bubbles appear in the fluid coming out of each bleeder valve.
Once completed, check all connections for leaks before lowering your vehicle back down.
Testing Your Brakes
After bleeding your brakes, it’s important to test them before driving:
- Lower your vehicle carefully and remove all tools from underneath.
- Start your vehicle and gently press down on the brake pedal. It should feel firm; if it feels spongy, you may need to bleed them again.
- Take your car for a short test drive in a safe area to ensure that braking performance is normal.
If everything feels right, congratulations! You have successfully replaced your brake lines.
FAQs About How To Replace Brake Lines
- How often should I replace my brake lines?
Brake lines should be inspected regularly and replaced if signs of corrosion or leaks are found. - Can I replace my brake lines myself?
Yes, with proper tools and knowledge, replacing brake lines can be done as a DIY project. - What type of brake line material is best?
Stainless steel is often recommended due to its durability and corrosion resistance. - How long does it take to replace brake lines?
The process typically takes about 1 to 3 hours depending on skill level. - What should I do if I notice a leak in my brake lines?
If you find a leak, it’s crucial to replace or repair them immediately as it affects braking performance.
By following these steps carefully and ensuring safety throughout, you can effectively replace your vehicle’s brake lines. Regular maintenance of your braking system is vital for safe driving conditions.