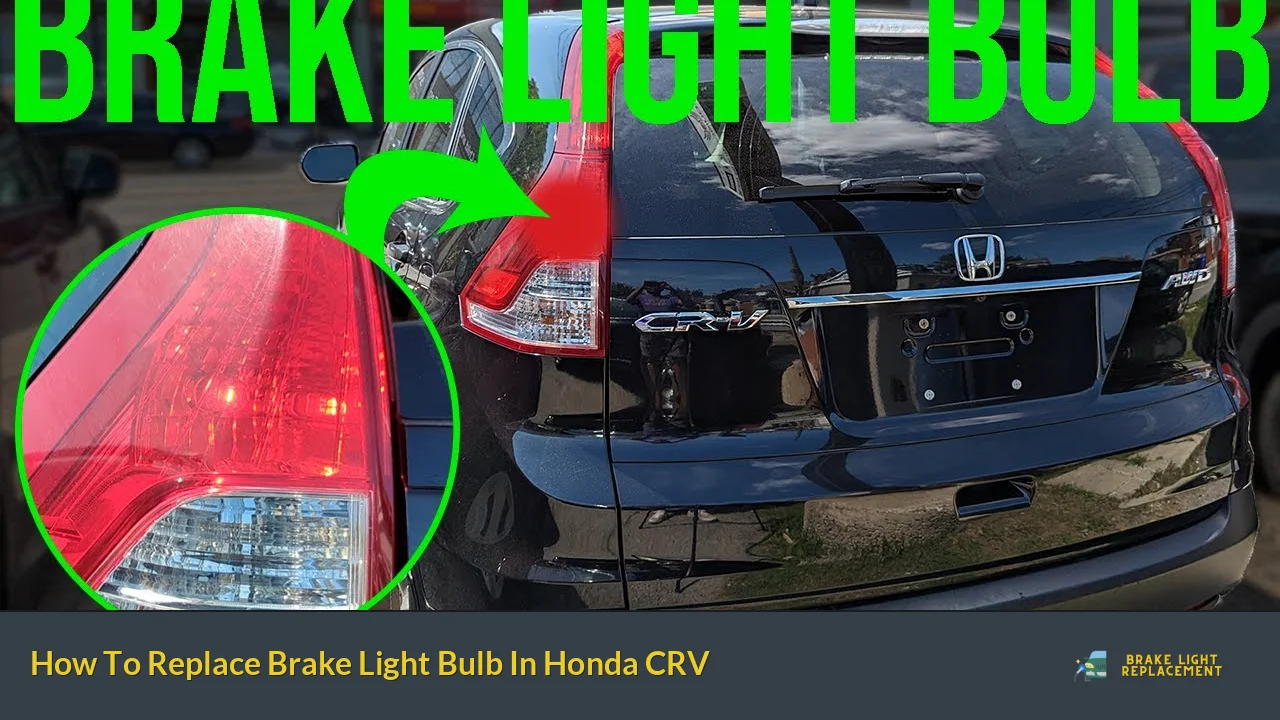
Replacing the brake light bulb in your Honda CR-V is a straightforward task that can save you both time and money. Whether your brake light has burned out or is flickering, it is essential to address this issue promptly for safety reasons. Having functional brake lights is not only crucial for your visibility but also a legal requirement. This guide will walk you through the steps needed to replace the brake light bulb in various Honda CR-V models.
Before starting, ensure you have the correct replacement bulb. Most Honda CR-V models use a 7443 bulb for the brake lights, but it’s always best to check your owner’s manual for the specific bulb type for your model year.
| Model Year | Brake Light Bulb Type |
|---|---|
| 2001-2006 | 7443 |
| 2007-2011 | 7443 |
| 2012-2016 | 7443 |
Tools Needed
To replace the brake light bulb in your Honda CR-V, you will need a few basic tools:
- Flathead screwdriver
- Phillips head screwdriver or an 8mm socket
- Ratchet (optional)
- Replacement bulb (7443)
Having these tools ready will make the process smoother and quicker.
Step-by-Step Guide to Replace Brake Light Bulb
Accessing the Brake Light Assembly
1. Open the Rear Hatch: Begin by opening the rear hatch of your Honda CR-V. This will give you access to the brake light assembly.
2. Locate the Light Assembly: Look for the brake light assembly on either side of the rear of the vehicle. Depending on your model year, there may be one or two assemblies to check.
3. Remove Covers: Using a flathead screwdriver, gently pry off any plastic covers that conceal screws or bolts securing the light assembly. Set these covers aside in a safe place.
4. Unscrew the Assembly: Use a Phillips head screwdriver or an 8mm socket with a ratchet to remove any screws or bolts holding the light assembly in place. Keep these screws safe as you will need them to reattach the assembly later.
Removing and Replacing the Bulb
1. Pull Out the Light Assembly: Once all screws are removed, carefully pull out the entire light assembly from the vehicle. Be gentle to avoid breaking any clips or connectors.
2. Twist Out the Bulb Socket: Locate the socket that houses the burnt-out bulb. Turn it counterclockwise to unlock it from the assembly and pull it out gently.
3. Remove Old Bulb: Pull out the old bulb from its socket. If it’s stuck, wiggle it gently while pulling straight out.
4. Insert New Bulb: Take your new 7443 bulb and insert it into the socket. Make sure it fits snugly and is seated properly.
5. Reattach Socket: Place the socket back into the light assembly and turn it clockwise until it locks into place.
Reassembling Everything
1. Reinstall Light Assembly: Carefully align and push the light assembly back into position on your vehicle.
2. Secure with Screws: Replace all screws or bolts that were removed earlier to secure the assembly back in place.
3. Replace Covers: Snap back any plastic covers that were removed at the beginning of this process.
4. Test Your Lights: Before closing everything up, turn on your vehicle and press down on the brake pedal to ensure that your new brake light is functioning correctly.
Tips for Success
- Always wear gloves when handling new bulbs to prevent oils from your skin from damaging them.
- If you encounter resistance when pulling out any components, double-check for any remaining screws or clips.
- If possible, have someone assist you by pressing down on the brake pedal while you check if the new bulb is working.
- Regularly check all your vehicle’s lights to ensure they are functioning properly; this can help avoid future issues.
Safety Precautions
When working with electrical components like bulbs, it’s important to take certain precautions:
- Ensure that your vehicle is turned off before beginning any work.
- Engage your parking brake to prevent any accidental movement of your vehicle.
- Be cautious when handling glass bulbs; they can break easily and cause injury.
FAQs About Replacing Brake Light Bulb In Honda CRV
- How often should I check my brake lights?
You should check your brake lights regularly, ideally every month or before long trips. - What tools do I need to replace a brake light bulb?
You will need a flathead screwdriver, Phillips head screwdriver or an 8mm socket, and a new bulb. - Can I replace my brake light bulb without professional help?
Yes, replacing a brake light bulb is a simple DIY task that most car owners can do themselves. - What if my new brake light bulb doesn’t work?
If it doesn’t work, check if it is properly seated in its socket or inspect for blown fuses. - Is it safe to drive with a burnt-out brake light?
No, driving with a burnt-out brake light is unsafe as it reduces visibility and increases accident risk.
Replacing a brake light bulb in your Honda CR-V is not only an essential maintenance task but also an opportunity to ensure your vehicle remains safe on the road. By following these steps carefully and taking necessary precautions, you can successfully complete this task with ease and confidence.