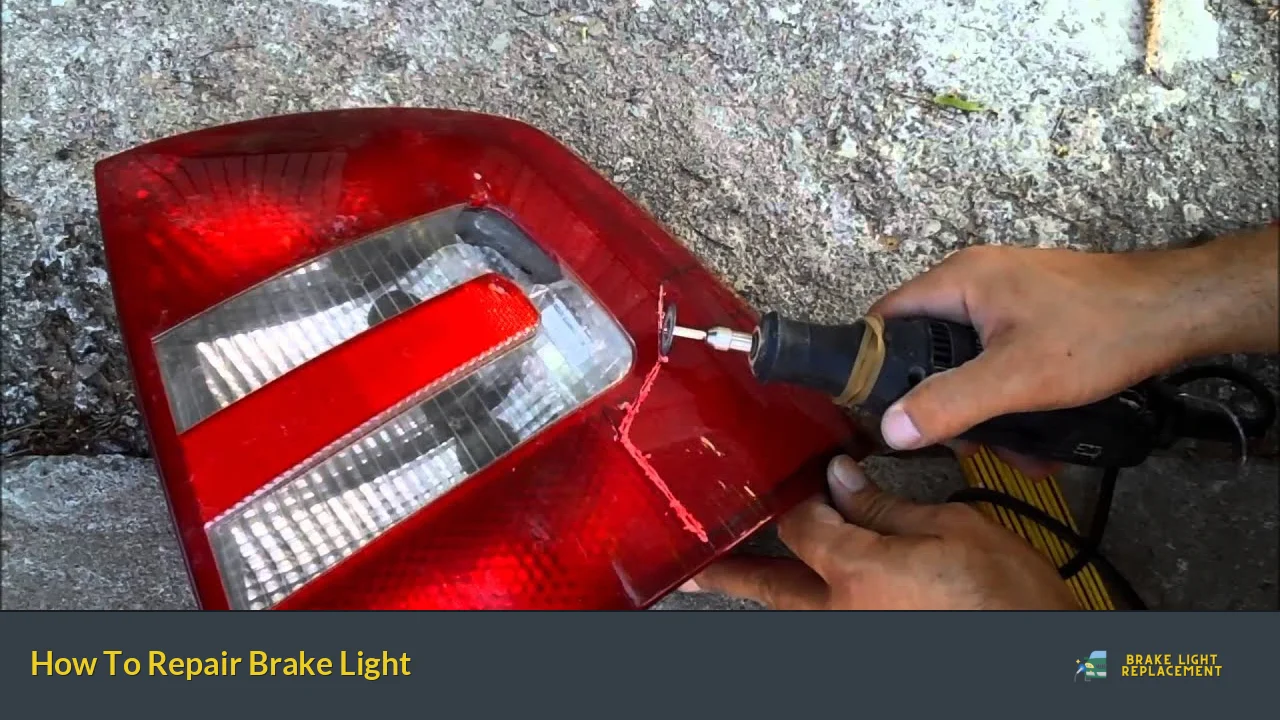
Brake lights are crucial for vehicle safety, serving as a signal to drivers behind you that you are slowing down or stopping. When they malfunction, it can lead to dangerous situations on the road. Repairing a brake light is often a straightforward task that can be accomplished with basic tools and some patience. This guide will provide a comprehensive overview of how to diagnose and repair brake light issues, ensuring your vehicle remains safe and compliant with traffic laws.
Step Description 1 Identify the issue with the brake light. 2 Access the brake light assembly. 3 Replace the faulty bulb or component. 4 Test the new brake light.
Identifying the Problem
Before you can repair a brake light, it’s essential to identify the underlying issue. The most common causes of brake light failure include:
- Burnt-out bulbs: Over time, bulbs wear out and stop functioning.
- Blown fuses: A blown fuse can interrupt the circuit that powers the brake lights.
- Faulty brake light switch: This switch activates the lights when you press the brake pedal.
- Wiring issues: Corroded or damaged wires can prevent electricity from reaching the bulb.
To start, check if your brake lights are functioning by pressing the brake pedal while someone observes from behind. If they do not illuminate, proceed to check each component systematically.
Accessing the Brake Light Assembly
Once you’ve identified that there is indeed an issue with your brake lights, you need to access the brake light assembly to perform repairs. Here’s how to do it:
- Open the trunk or hatchback: Most vehicles have access to their rear lights through the trunk area.
- Locate screws or clips: Depending on your vehicle’s make and model, you may need to remove screws or clips holding the tail light assembly in place. These are often hidden under carpeting or trim pieces.
- Remove the assembly: Carefully pull out the tail light assembly from its housing. Be cautious not to damage any wiring connected to it.
Replacing the Bulb or Component
With access to the assembly, you can now replace any faulty components. Follow these steps:
- Remove the bulb socket: Twist or pull out the socket that holds the burnt-out bulb. This may require a gentle tug depending on how tight it is.
- Replace the bulb: Take out the old bulb and insert a new one of the same type. Ensure it is securely seated in its socket.
- Check for corrosion: Inspect the socket for any signs of corrosion or damage. If present, clean it with electrical contact cleaner or replace it altogether.
- Reattach everything: Place the socket back into its housing and ensure it fits snugly.
Testing Your Brake Lights
After replacing any faulty components, it’s crucial to test your work before closing everything up:
- Reassemble any removed parts: Put back any screws or clips that were taken off during disassembly.
- Test functionality: Have someone press down on the brake pedal while you observe from behind. Ensure that both sides illuminate properly.
If everything works correctly, congratulations! You’ve successfully repaired your brake lights. If they still do not function, further investigation into fuses or wiring may be necessary.
Troubleshooting Common Issues
If your brake lights are still not working after replacing bulbs and checking connections, consider these troubleshooting tips:
- Inspect fuses: Locate your vehicle’s fuse box and check for blown fuses related to lighting. Replace any blown fuses with ones of equivalent amperage.
- Check wiring connections: Look for frayed wires or loose connections leading to and from your brake light switch and bulbs.
- Examine the brake light switch: If all else fails, test or replace your brake light switch located near where your brake pedal connects.
FAQs About How To Repair Brake Light
- What tools do I need to replace a brake light?
You typically need a screwdriver, replacement bulbs, and possibly pliers. - How often should I check my brake lights?
It’s advisable to check them monthly or before long trips. - Can I drive with a broken brake light?
No, it’s illegal and unsafe to drive without functioning brake lights. - What if my new bulb doesn’t work?
If a new bulb doesn’t work, check for blown fuses or wiring issues. - Are LED bulbs better than traditional bulbs?
Yes, LED bulbs last longer and are more energy-efficient than traditional incandescent bulbs.
Conclusion
Repairing a malfunctioning brake light is an essential maintenance task that every vehicle owner should be familiar with. By following these steps—identifying issues, accessing components, replacing faulty parts, and testing functionality—you can ensure your vehicle remains safe for both yourself and others on the road. Regular checks on your vehicle’s lighting system will help prevent potential accidents caused by malfunctioning signals. Always prioritize safety by addressing any issues promptly and thoroughly.
